 Anacortes Siding
 Flounder Bay Roofs Work Harder Than Most
Flounder Bay sits close enough to the water that every roof out here deals with conditions a lot of manufacturers' warranty language never quite accounts for. Salt-laden air moves in off the marina and Guemes Channel and settles on every exposed surface, including your shingles, flashing, and fasteners. Add Skagit County's long wet season, driving rain that comes in sideways during winter storms, and the shade from mature evergreens that keeps roof sections damp for days after a rain event, and you've got a recipe for moss, granule loss, and corrosion that inland Anacortes homes simply don't see at the same rate.
None of that means Flounder Bay homes need exotic materials or gimmicks. It means the install has to be done correctly, with the right underlayment, the right fasteners, and real attention to ventilation and moss resistance from day one. A roof that's "good enough" somewhere drier won't hold up the same way three blocks from saltwater.
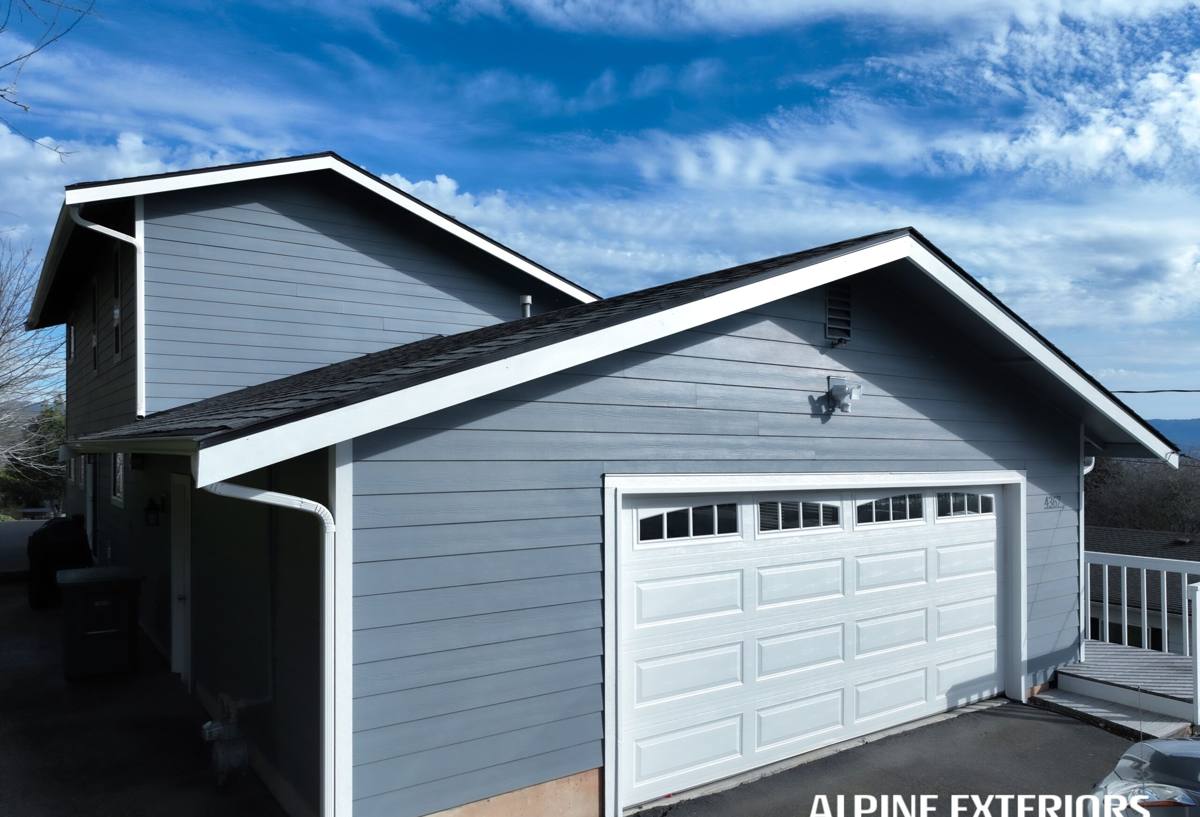
What a Correct Roof Install Actually Involves Here
Starting With the Deck, Not the Shingles
Every new roof starts with the decking underneath, and on older Flounder Bay homes that deck has often absorbed moisture over the years, especially around old vent boots, chimney flashing, and valleys. We check the sheathing for soft spots, delamination, and rot before anything new goes down. Replacing bad sheathing costs more up front, but nailing a new roof over compromised decking is how you end up doing this job again in half the time.
Underlayment That Handles Driving Rain
Standard felt underlayment is fine in a lot of climates. For a home taking wind-driven rain off the water, we use synthetic underlayment with taped or sealed seams, and we run self-adhered ice-and-water membrane at the eaves, valleys, and any roof-to-wall transitions — the spots where wind-driven water actually gets pushed uphill under the shingles rather than running off. This is the layer that saves your home when a shingle gets lifted or damaged in a storm; it's cheap insurance compared to interior water damage.
Flashing and Fasteners That Won't Corrode
Salt air is hard on metal. We use corrosion-resistant flashing and stainless or hot-dip galvanized fasteners at Flounder Bay properties rather than standard-grade hardware, particularly around chimneys, skylights, and any low-slope transitions. Cheap fasteners that rust prematurely are one of the most common causes of leaks we find when we're called out to fix someone else's roof a few years after installation.
Choosing a Roofing Material for a Marine-Influenced Site
There's no single "best" roofing material for every home — it depends on your roof's slope, your budget, and how much maintenance you're willing to keep up with. Here's how the common options stack up specifically for a shaded, salt-air, high-moss-pressure site like Flounder Bay:
| Material | Moss/Moisture Behavior | Salt Air Durability | Maintenance |
|---|---|---|---|
| Architectural asphalt shingles (algae-resistant) | Good with proper ventilation; algae-resistant granules slow staining | Solid when paired with corrosion-resistant flashing | Periodic moss removal, gutter clearing |
| Standard 3-tab asphalt | More prone to moss and granule loss over time | Adequate but shorter service life near water | More frequent upkeep |
| Metal (standing seam) | Sheds moisture fast, resists moss growth | Excellent with proper coatings and fasteners | Low; occasional fastener/seam check |
| Cedar shake | Needs consistent airflow and treatment to resist rot in shaded, damp spots | Requires more upkeep near salt spray | Higher; regular treatment and inspection |
For most Flounder Bay homes, we lean toward algae-resistant architectural shingles or standing-seam metal, depending on the roofline and the homeowner's long-term maintenance plans. We'll walk through the honest trade-offs for your specific roof rather than pushing one product across the board.
Ventilation: The Step That Prevents Most Future Problems
A shaded, damp roof with poor attic ventilation is where moss and premature shingle failure really take hold. Trapped heat and moisture under the deck accelerate the breakdown of shingles from underneath, and a roof that can't breathe stays damp longer after every rain, which is exactly what moss needs to establish itself. As part of a new roof install, we evaluate intake and exhaust ventilation together — ridge vents, soffit vents, and baffles that keep air actually moving from eave to ridge, not just vents installed for the sake of having them.
This is one of the most common gaps we find when we inspect roofs installed by out-of-area crews: vents were added, but the intake and exhaust don't work together, so the attic still traps moisture. Getting this right at install time is far cheaper than retrofitting it later.
Our Installation Process
1. On-Site Assessment
We walk the roof and attic, check the decking, note shade patterns and moss history, and look at existing ventilation. This tells us what the roof actually needs, not just what's easiest to sell.
2. Written Scope and Material Selection
You get a clear, itemized plan — decking work if needed, underlayment spec, material choice, flashing details, ventilation changes — before any work starts. No surprises mid-job.
3. Tear-Off and Deck Repair
Old roofing comes off, the deck gets inspected close-up, and any soft or rotted sheathing is replaced before the new system goes down.
4. Underlayment, Flashing, and Ice-and-Water Membrane
This is where the storm-resistance of the roof actually gets built — long before the finish material goes on.
5. Roofing Material Installation
Installed to manufacturer spec with corrosion-resistant fasteners, correct nailing patterns, and proper overlap for wind-driven rain.
6. Ventilation Tie-In and Final Inspection
We confirm intake and exhaust are balanced, check every penetration and flashing point, and do a full walk-through with you before calling the job done.
Cost Factors on a Flounder Bay Roof
Every roof is different, but the line items that most affect your final price are consistent. This isn't a quote — it's what actually drives the number up or down on a job like this:
| Factor | Why It Matters Here |
|---|---|
| Roof size and pitch | Steeper roofs and more complex rooflines take more labor and material |
| Deck condition | Hidden rot from long-term moisture exposure adds repair time |
| Material choice | Standing-seam metal and premium shingles cost more upfront but reduce moss/maintenance issues near the water |
| Ventilation upgrades | Adding or correcting ridge/soffit vents on an older home is common in shaded, damp lots |
| Access and site conditions | Tree cover, steep driveways, or tight lot lines near the water can affect setup and disposal logistics |
We'll give you a specific number in writing after we've actually looked at your roof — broad ranges without an on-site look aren't worth much to either of us.
What to Ask Before You Hire Anyone for This Job
- Do they carry current Washington contractor licensing and liability insurance, and will they show you proof without being asked twice?
- Do they specify corrosion-resistant flashing and fasteners for homes near saltwater, or is that an upcharge you have to request?
- Will they inspect and address attic ventilation as part of the install, not just the roofing material itself?
- Do they use ice-and-water membrane at eaves and valleys, or just standard underlayment throughout?
- Can they explain, in plain terms, why they're recommending a specific material for your roof's slope and shade pattern?
- Do they give you a written scope before work starts, and a clear plan for what happens if they find deck damage once tear-off begins?
Why Local Experience in Flounder Bay Actually Matters
A roofing crew that regularly works this stretch of Skagit County already knows how far salt spray typically carries inland here, which tree-shaded lots hold moisture longest, and where moss tends to establish first on a given roof orientation. That's not something you learn from a spec sheet — it's something you learn from doing the work in this specific area, season after season. It shows up in small decisions: which flashing detail gets extra attention, where we push for better ventilation even if it's not the cheapest option, and which material trade-offs are worth explaining to you up front instead of glossing over.
It also matters for follow-up. If a question comes up after the job — a spot of moss showing up in year two, a gutter question after a big storm — you're calling a crew that's still working in your neighborhood, not chasing down someone who did one job in the area and moved on.
Timeline and What to Expect During the Job
Most single-family new roof installations in this area take one to a few days on-site once work begins, depending on roof size, pitch, and whether deck repairs are needed. Weather windows matter — we schedule with Anacortes' rain patterns in mind and won't rush a tear-off into a forecast that leaves your deck exposed overnight. We keep the site cleaned up as we go, protect landscaping and walkways during tear-off and disposal, and do a full walk-through with you at the end so you know exactly what was done and why.
If your roof is showing granule loss, moss buildup, curling shingles, or you're just planning ahead for a home near the water, we're glad to come take a look. Reach out using the form below for a free, no-pressure estimate — we'll walk your roof, answer your questions honestly, and give you a clear picture of what it actually needs.