 Anacortes Siding
 Building on the West Side of Anacortes
West Anacortes sits close to the water, on the edge of Fidalgo Island, which means new homes going up here take weather most inland Skagit County builds don't have to deal with. Salt-laden air off the strait, wind-driven rain that hits window openings sideways instead of straight down, and a wet season that runs long enough to grow moss on anything that stays damp — all of it lands directly on a house during framing, before siding, paint, or trim ever go on. New-construction window installation is the point in the build where you either get ahead of that exposure or bake a problem into the wall for the next thirty years.
This page is about one job: setting windows correctly into a new-construction opening on the west side of Anacortes, at the framing stage, before siding closes the wall up. It's a different job than swapping out an old window in an existing house, and the distinction matters more here than it does in a lot of places.
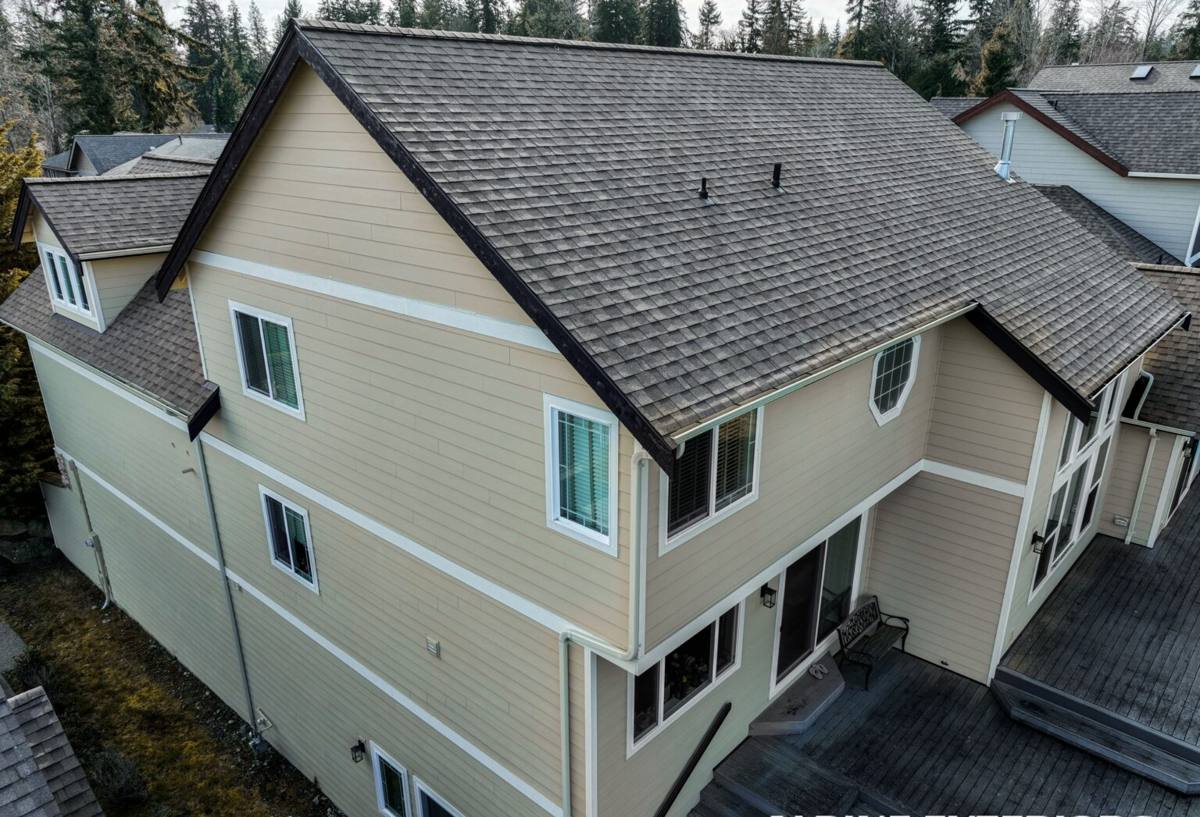
New Construction vs. Replacement — Why the Difference Matters
A lot of homeowners assume a window is a window. In practice, new-construction windows and replacement windows are installed with completely different methods, and mixing them up on a new build is one of the more common ways a wall ends up with a hidden moisture path.
| Factor | New-Construction Window | Replacement Window |
|---|---|---|
| How it attaches | Nailing flange fastens directly to the sheathing/framing | Fits into the existing frame, no flange |
| Flashing access | Full access to integrate with the house wrap before siding | Limited — existing siding usually stays in place |
| Best used when | Framing is open, rough openings are being built out | Original frame is sound, siding stays intact |
| Failure mode if done wrong | Water gets behind the WRB and into the wall cavity | Water gets trapped between old and new frame |
On a new build, we always want the flange-and-flashing approach. It gives us a chance to build a fully lapped, shingle-style water path from the roof line down to the foundation — something a retrofit install can only partially achieve. If your West Anacortes project is new construction or a full-tear-down rebuild, this is the method that should be used, and it's worth confirming with any crew you hire that they're actually doing it this way rather than treating it like a replacement job.
What the Local Climate Does to a New Window Install
Salt Air and Hardware
Being close to the water means airborne salt settles on exposed metal — fasteners, flashing tape edges, hardware — faster than it would a few miles inland. Uncoated or poorly rated fasteners can start corroding within a few seasons, which is why fastener choice at the framing stage isn't a minor detail on a west-facing Anacortes lot.
Driving Rain
Wind off the strait doesn't just fall on a house, it pushes rain sideways into any gap in the opening. A window that's flashed for straight-down rain but not wind-driven rain will look fine for years and then leak during the first real storm that hits from the wrong angle. Sill pans and properly lapped head flashing are not optional extras here — they're the difference between a dry wall cavity and a slow leak nobody notices until there's damage.
Long Moss Season
Skagit County's wet stretch runs long, and anywhere moisture sits — north-facing walls, shaded corners, low-slope trim details — grows moss and algae given enough time. That's mostly a siding and roofing issue, but it matters for windows too: a poorly sealed sill or a flashing lap that traps water creates exactly the damp, shaded condition moss needs to take hold around the window trim.
The Anatomy of a Correct Install
A new-construction window install is really a sequence of small details, each one depending on the one before it. Skipping or rushing any single step is how a house ends up with a leak that doesn't show up until years later.
Sill Pan First
Before the window ever goes into the opening, the rough sill should have a sloped, sealed pan under it — either a manufactured flashing pan or a properly built sloped-and-taped one. This gives any water that does get past the window a way out instead of a place to collect.
Flange Integration with the Weather-Resistive Barrier
The nailing flange needs to be lapped correctly with the house wrap: side flanges over the WRB at the jambs, head flange under the WRB above. Done backwards, water runs behind the barrier instead of over it. This is the single most common mistake we see corrected on other people's framing.
Sealant and Backer Rod
Sealant is a backup, not the primary defense — it should never be asked to do the whole job. Proper backer rod depth and a compatible, UV-stable sealant at the interior and exterior gaps finish the seal without over-relying on caulk that will eventually fail.
Shimming and Squaring
A window that's out of square stresses the frame, binds hardware, and can open gaps at the corners over time. Shimming at the manufacturer's specified points, checking for square and plumb before final fastening, is basic but frequently rushed on tight framing schedules.
Choosing Frame Materials for a Waterfront-Adjacent Build
Material choice matters more near salt air than it does a few miles inland. There's no single right answer for every home — it depends on budget, style, and how much maintenance the owner wants to take on.
| Frame Material | Salt Air / Moisture Behavior | Maintenance |
|---|---|---|
| Vinyl | Doesn't corrode; UV-stable formulations hold up well | Low — occasional cleaning |
| Fiberglass | Very stable dimensionally, good moisture resistance | Low |
| Wood, unclad | Needs a sound exterior finish maintained regularly near salt air | High |
| Wood, aluminum or vinyl-clad | Cladding protects the exterior face; interior stays wood | Moderate |
| Aluminum | Can corrode without a marine-grade finish; thermally less efficient | Moderate to high |
We won't tell a homeowner that any of these products are bad — each has a place. What we will say plainly: an unclad wood window on a west-facing, water-exposed elevation is going to demand a maintenance commitment that vinyl or fiberglass simply doesn't. That's a trade-off worth discussing at the design stage, not after the windows are already ordered.
Our Process When We're Framing In Your Windows
- Review rough openings against the window schedule and manufacturer specs before any unit arrives on site.
- Install sloped sill pans at every opening, sealed and tested for a clear drainage path.
- Set and square each window, shimming at manufacturer-specified points, checking level and plumb.
- Integrate the nailing flange with the WRB in correct shingle-lap order — sides over the barrier, head tucked underneath.
- Apply sealant and backer rod at specified gaps, using products rated for the exposure the elevation will see.
- Photograph flashing and pan details before siding closes the wall, so there's a record of what's behind the finish.
- Walk the openings with the builder or homeowner before moving to the next trade.
Timing It Right During the Build Schedule
New-construction window installation isn't a job that happens in isolation — it sits between the framer and the siding crew, and timing it wrong causes real problems. Windows set too early can sit exposed to weather with no siding protection for weeks. Windows set too late hold up every trade behind them. On a wet-season Skagit County schedule, we also watch for stretches of dry weather to close in openings, rather than setting units into a wall that's still soaked from the last storm. A crew coordinating closely with the builder's schedule — not working in isolation — is what keeps a new-construction project moving without exposing the framing longer than it has to be.
Why a Crew That Already Works West Anacortes Matters
None of the details above are exotic — they're standard trade practice. What changes from job to job is how much attention a given site's exposure actually needs, and that's where local experience pays off. A crew that has already framed in windows on west-facing, water-adjacent lots in Anacortes knows which elevations need extra flashing lap, which fastener specs hold up to salt air over time, and how the local wet season affects scheduling around a build. That's not something you can fully substitute with a generic install checklist — it comes from having done the work on this stretch of coastline before.
Checklist: What a Correct Install Should Show
- Sill pans present and sloped at every rough opening, not just the exposed elevations
- Flange laps confirmed over/under the WRB in the correct shingle order before siding starts
- Corrosion-resistant fasteners used, not a generic interior-grade fastener
- Backer rod and sealant applied at spec depth, not caulk alone bridging a gap
- Every window checked for square and plumb before final fastening
- Photos or a walkthrough of flashing details before the wall is closed in
If you're framing a new build or planning one on the west side of Anacortes, we're glad to walk the plans or the site and talk through what your specific elevations will need. Reach out for a free, no-pressure estimate — there's a form right below to get started.