 Anacortes Siding
 Skyline sits up above Anacortes with the kind of views that make new construction and major additions worth doing right the first time. But those same conditions — open exposure, salt-laden air off the surrounding water, and long stretches of driving rain through fall and winter — mean the window installation on a new-build or addition here has to hold up to more than a typical inland Skagit County home. New-construction windows aren't just "bigger replacement windows." They're a different installation method entirely, and getting that method right at the framing stage is what determines whether a home stays dry for the next 30 years or starts showing rot around the openings in five.
What "New-Construction Windows" Actually Means
The term refers to windows with a nailing flange (fin) built into the frame, designed to be installed before siding goes on — during or right after framing, while the wall is still open to the sheathing and weather-resistive barrier (WRB). This is different from a pocket or insert replacement window, which gets set into an existing frame with the exterior trim and siding left in place.
Because a new-construction window installation happens before the house is closed up, it's the one point in the build where the window, the flashing, and the water-management layer of the wall can all be integrated as a single system rather than patched together later. On a Skyline lot exposed to wind-driven rain, that integration is the whole ballgame — most window leaks we get called out to fix on other homes trace back to flashing details that were rushed or skipped at this exact stage.
Why This Stage Matters More on Exposed Sites
Skyline's elevation and open exposure mean wind-driven rain hits window openings at angles a sheltered, tree-lined lot rarely sees. Water doesn't just run down a wall here — it gets pushed sideways and upward under trim and siding edges. A window that's merely "caulked in" survives a normal rain but fails under wind-driven conditions. Correct new-construction technique assumes wind-driven rain from day one, not as an edge case.
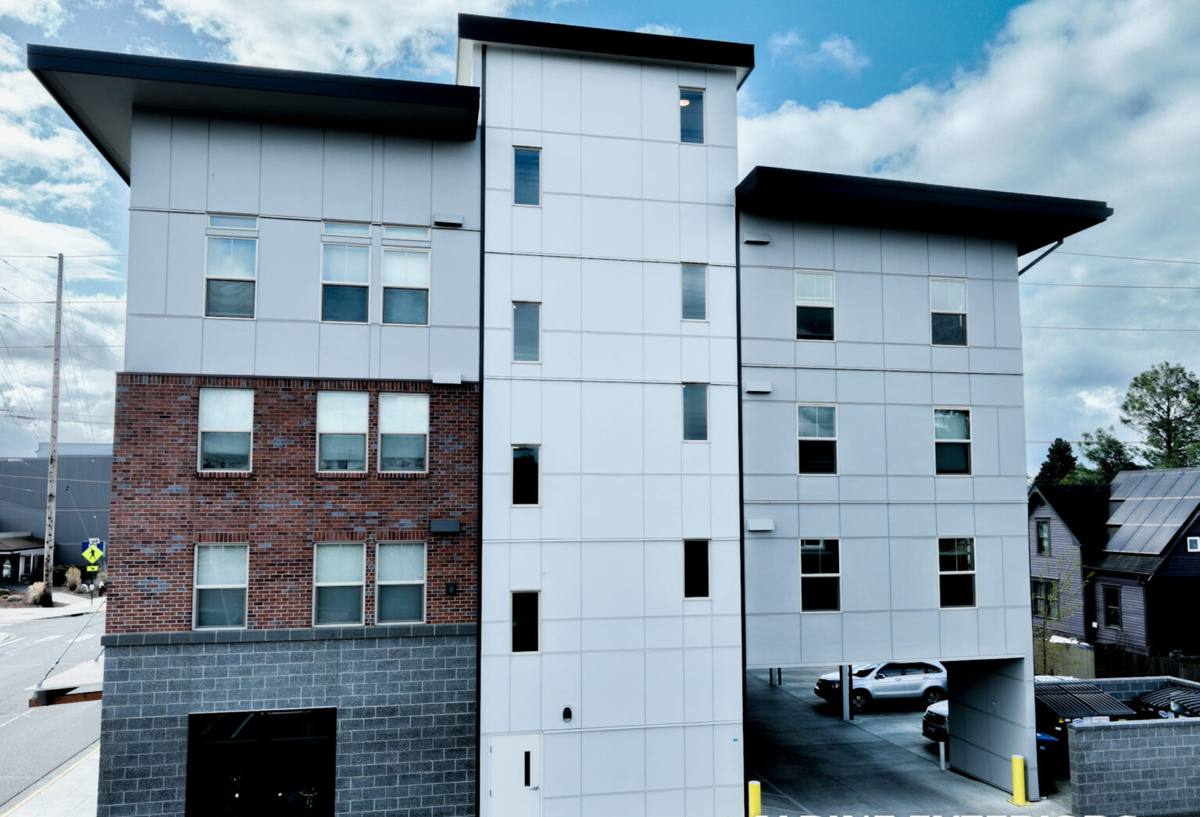
What Anacortes Climate Demands From a New Window Opening
Skagit County's marine climate brings three specific stresses to a new window install, and each one changes a detail in how we build the opening:
- Salt air: corrodes exposed fasteners and lower-grade flashing tape adhesives over time, so fastener and flashing material selection matters more here than inland.
- Driving rain: requires a shingle-lapped, gravity-correct flashing sequence at the sill, jambs, and head — installed in the right order so water always sheds outward and down, never into the wall cavity.
- Long moss and wet season: extended damp periods mean any water that does get trapped behind a poorly sealed opening has months to do damage before a dry spell lets a wall breathe out. Standing moisture is the enemy, not brief rain exposure.
None of these are exotic problems. They're the same forces every Anacortes-area home deals with. But a new-construction window opening only gets built once — there's no "we'll catch it on the next re-side" — so the install has to account for all three from the start.
What a Correct New-Construction Install Involves
There's a specific order of operations that keeps water moving out of the wall assembly instead of into it. Skipping or reordering any of these steps is where problems start.
- Rough opening check: confirm the opening is square, level, and sized per the window manufacturer's tolerance — not just "close enough."
- Sill pan flashing: a sloped, back-dammed sill pan (built-up or manufactured) so any water that reaches the sill drains back outside rather than sitting on the framing.
- WRB integration: the weather-resistive barrier gets cut and folded into the opening before the window goes in, not taped over the flange after the fact.
- Window set and fasten: window set into the opening per manufacturer fastening schedule, shimmed for square and plumb, checked for operation before it's permanently sealed in.
- Jamb and head flashing: flashing tape or flashing membrane applied jambs-then-head, each layer shingle-lapped over the one below so water sheds down and out.
- Head flashing / drip cap: a physical flashing above the window that directs water past the opening, not just a bead of sealant relying on adhesion alone.
- Backer rod and sealant at trim: exterior sealant is the last line of defense, never the primary water barrier — it seals gaps, it doesn't replace flashing.
Every one of those steps is inspectable at the time it happens and invisible once siding goes on. That's exactly why sequencing and photo documentation during the build matter — problems here don't show up as a leak for months or years, and by then the siding has to come off to find and fix them.
Our Process on Skyline Builds
Coordinating With the Build Schedule
New-construction window installs happen on the general contractor's or builder's timeline, which means our crew works within the framing and dry-in schedule rather than running it independently. We show up when the opening is framed and the WRB is ready, install per the sequence above, and confirm the openings are properly flashed before siding crews close the wall.
Site-Specific Adjustments for Skyline
On more exposed Skyline lots, we typically:
- Use a flashing tape rated for the temperature and moisture range we actually get here, not a generic all-season product.
- Pay particular attention to head flashing on walls facing prevailing wind and rain direction.
- Use corrosion-resistant fasteners appropriate for a coastal-influenced environment.
- Verify sill pan back-dam height is adequate for wind-driven rain, not just standard runoff.
Final Walkthrough
Before we leave a job, every window gets operated, checked for square and reveal consistency, and visually confirmed against the flashing plan. On new construction we also flag anything the siding or trim crew needs to know about the flashing layers underneath before they build over it.
Product Considerations for New Construction
New-construction flanged windows come in vinyl, fiberglass, and clad-wood options, and the right choice depends on budget, style, and how exposed the specific elevation is. We install what fits the project and the client's goals, but we're upfront about trade-offs:
| Frame Type | Typical Cost Range | Maintenance | Best Fit |
|---|---|---|---|
| Vinyl | Lower | Low — no painting, occasional cleaning | Budget-conscious builds, rental/spec homes |
| Fiberglass | Mid to upper-mid | Low — stable dimensionally, holds paint well if painted | Exposed elevations, long-term owners wanting durability |
| Clad-wood | Higher | Moderate — exterior clad is low-maintenance, interior wood needs periodic attention | Custom builds prioritizing interior wood look |
On exposed Skyline elevations facing prevailing weather, we'll often steer clients toward fiberglass or a well-rated vinyl for dimensional stability in temperature swings, simply because a frame that expands and contracts less puts less stress on the sealant and flashing joints over the years. That's a maintenance-and-longevity conversation, not a knock on any product line — every frame material has a legitimate place depending on the build.
Common Mistakes We See (and Avoid)
- Caulk-only installs: relying on sealant instead of proper flashing shingling. Sealant fails eventually; flashing sequence doesn't rely on adhesion to keep water out.
- Flat or unback-dammed sill pans: water pools instead of draining, especially under sustained rain.
- WRB taped over the flange instead of integrated under it: reverses the shingle-lap and can direct water into the wall instead of away from it.
- Fastening schedule shortcuts: under-fastened windows shift over time, opening gaps at the frame-to-flashing interface.
None of these fail on day one. They fail two, five, or ten winters in, which is exactly why the install quality on a new-construction project matters more than it seems to at the time.
A Pre-Install Checklist for Homeowners and Builders
If you're working with any crew on window installation for a Skyline new-build or addition, these are reasonable questions to ask before work starts:
- Will sill pans be back-dammed and sloped to drain outward?
- What flashing tape brand and rating will be used, and is it appropriate for our climate?
- Will the WRB be integrated under the flange in proper shingle-lap order?
- What's the fastening schedule, and does it match the window manufacturer's requirements?
- Will there be photo documentation of flashing before siding covers it?
- Is head flashing physical (metal or membrane) rather than sealant-only?
Why Local Experience on Skyline Matters
A crew that's worked Skyline lots before already knows how exposure and elevation on this side of Anacortes change the flashing details compared to a sheltered in-town lot. That's not a sales pitch — it's the difference between an install that assumes textbook conditions and one that's built for what this specific area actually gets thrown at it: salt-influenced air, wind-driven rain off open exposure, and a wet season that runs long enough to punish any shortcut in the water-management sequence. Getting the sequence right the first time, while the wall is still open, is far cheaper and far more reliable than diagnosing a leak after the siding's on.
If you're planning a new build or addition on Skyline and want the window openings done right from framing forward, we're happy to walk the plans with you and give a free, no-pressure estimate — just fill out the form below.