 Anacortes Siding
 Board & Batten Siding for Flounder Bay Homes
Flounder Bay sits close enough to the water that homes there deal with a steadier dose of marine weather than properties further inland in Anacortes — salt-tinged air, wind that carries rain sideways instead of straight down, and shaded walls that stay damp for long stretches during the wetter months. Board and batten has become a popular choice out here because the vertical lines look sharp against the water views and read as both modern and classic depending on the rest of the house. What doesn't get talked about enough is that board and batten is a joint-heavy profile — every seam between a board and the batten covering it is a spot where water can try to work its way behind the siding. On a home this close to Skagit County's marine exposure, how those seams are built matters as much as what siding brand ends up on the wall.
We install James Hardie fiber cement board and batten exclusively, and every fastening pattern, clearance gap, and flashing detail on a Flounder Bay job is built around what this specific stretch of coastline does to a wall over ten, twenty, and thirty years — not around what looks fine the day the crew packs up.
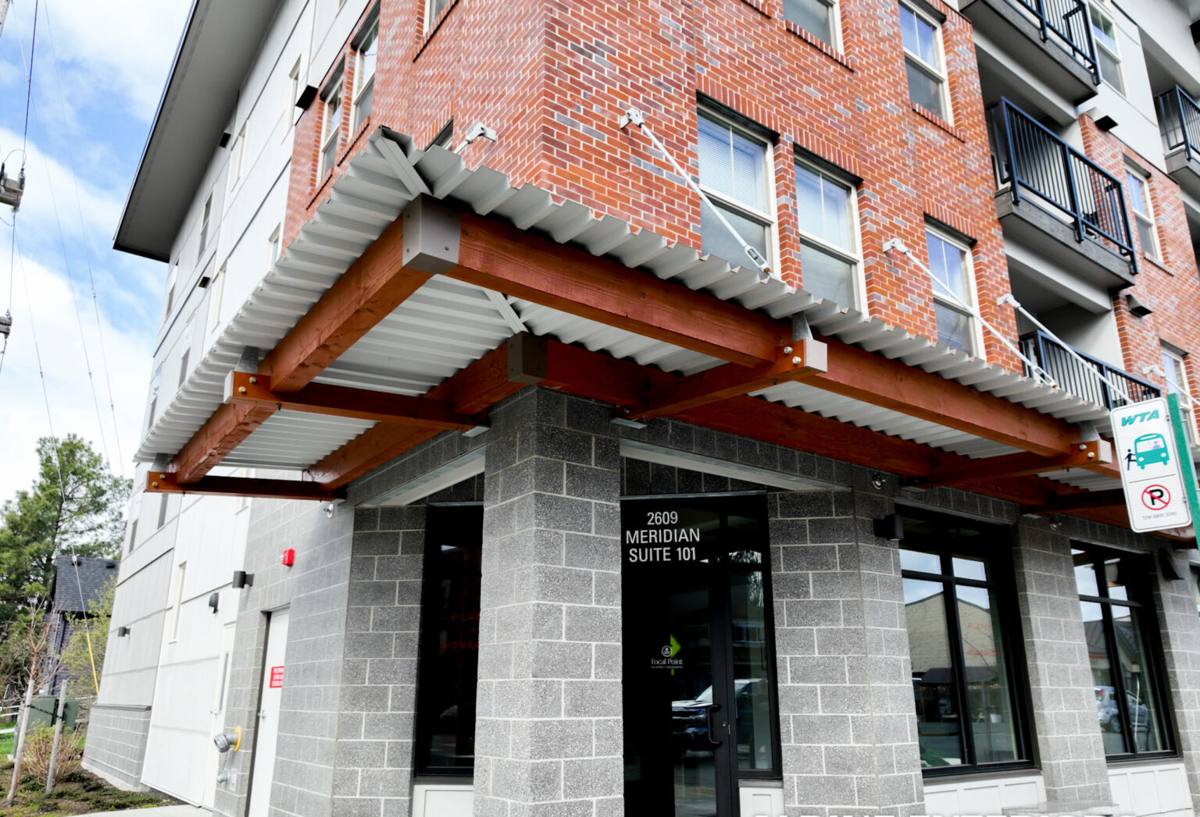
What Flounder Bay's Exposure Asks of a Board & Batten Wall
Wind-Driven Rain on Vertical Seams
Homes near the water in Flounder Bay catch rain that rarely falls straight down — wind off the bay pushes it sideways and drives it into vertical joints with more force than a sheltered inland lot ever sees. A vertical profile like board and batten has a lot of seam length running the full height of the wall, so a batten that's caulked tight instead of properly lapped and back-vented becomes a place for wind-driven rain to collect rather than shed.
Salt Air and Fastener Longevity
Steady salt exposure this close to the water is hard on any exposed metal, and board and batten uses more fasteners per square foot than standard lap siding because both the boards and the battens over them need to be secured. That means fastener spec — corrosion resistance, correct length, correct spacing — carries more weight on a Flounder Bay board and batten job than it would on a lap-sided home a mile inland.
Moss and Trapped Moisture on Shaded Walls
North-facing and tree-shaded walls around Flounder Bay hold onto dampness longer than sun-exposed ones, and that's exactly the environment moss and mildew need to take hold. A batten set tight against a board with no room for airflow traps that moisture right where it can't dry, which over a few wet seasons shows up as seam staining, softened substrate underneath, and paint or finish failure right along the joint.
Why the Product Choice Matters More on This Profile
Board and batten amplifies whatever weaknesses a siding material already has, simply because it has more seams and more exposed edge per square foot than a standard lap profile. That's a big part of why we don't offer LP SmartSide, vinyl, Cemplank, Allura, primed spruce, or cedar board and batten. Those are legitimate products, and other contractors install them competently, but on a joint-heavy profile in a climate this consistently wet and salt-exposed, we standardized on one system we trust completely.
| Material | Behavior at Batten Seams | Maintenance in This Climate | Realistic Lifespan |
|---|---|---|---|
| James Hardie fiber cement | Dimensionally stable; doesn't swell or cup at the joint | Low; factory finish resists moss and salt-driven fading | 30+ years with proper install |
| LP SmartSide (engineered wood) | More sensitive to moisture at cut edges and fastener holes | Moderate; cut-edge sealing needs upkeep | 15-25 years, climate-dependent |
| Vinyl | Can gap or distort at battens in sun and cold; less rigid at seams | Low, but hidden moisture behind panels is hard to catch | 20-30 years, variable |
| Cedar | Absorbs moisture readily at every seam without regular sealing | High; repainting or resealing on a recurring cycle | 15-25 years with consistent upkeep |
Fiber cement's core doesn't expand and contract with moisture the way wood-based products do, which is exactly the property that matters most on a profile built entirely out of vertical joints. James Hardie's factory-applied ColorPlus finish also means the field-primed cut edges we handle on site are the exception rather than the rule, unlike a field-painted material where every board face depends on paint holding up against salt air and driving rain year after year.
What a Correct Board & Batten Install Actually Involves
The finished look of board and batten is simple — vertical boards, battens over the seams — but a correct install has more happening behind that surface than most other siding profiles:
- House wrap or weather-resistive barrier installed and properly lapped before any siding goes up
- A drainage gap or rainscreen behind the siding so moisture that gets past the surface can dry out instead of sitting against the wall
- Boards fastened with corrosion-resistant hardware at the manufacturer's specified spacing, not just enough to hold the material up
- Battens set with the clearance James Hardie's install spec calls for, not caulked tight, so the wall can shed water instead of trapping it
- Properly flashed and lapped transitions at windows, doors, corners, and the base of the wall, where the vertical run meets a horizontal surface
- Factory-cured ColorPlus finish preserved by cutting boards face-down and priming any field-cut edges before installation
Skip any one of these steps and the wall can still look fine for a season or two. The problems that come from skipping them — seam staining, soft spots near the base, finish failure along the battens — take a few wet seasons to surface, which is exactly why a corner-cutting install can get away with it right up until the homeowner is the one dealing with the repair.
Our Process for a Flounder Bay Board & Batten Project
Walkthrough and Assessment
We start by walking the specific walls involved — which ones take the weather head-on, which are shaded and slow to dry, and whether the existing wall assembly already has moisture issues that need addressing before new siding goes up. Board and batten over a wall with hidden rot or inadequate drainage just buries the same problem under new material.
Detailing the Plan Before Install Day
We work out batten spacing, corner details, and how the siding will meet windows, trim, and rooflines before crews start cutting material. On a profile with this many seams, planning the details on paper first avoids field improvisation, which is usually where corners get cut on a rushed job.
Installation to Manufacturer Spec
Every fastener, gap, and flashing lap follows James Hardie's published installation requirements for this region, not a generic national standard. That's part of what keeps the manufacturer's warranty intact and part of why the wall performs the way it should for decades rather than years.
Final Walkthrough
We walk the finished job with you, cover what maintenance actually looks like for board and batten (there's very little with this material, but it's worth knowing), and make sure you know what to look for if you ever want to check the wall yourself.
Why Hire a Crew That Already Works Flounder Bay
Board and batten rewards experience with this specific stretch of coastline in a way a lot of siding profiles don't, because the failure points are subtle and slow to show up. A crew that has installed this profile on homes around Flounder Bay through multiple wet seasons has already seen which orientations need extra attention because of shade and wind exposure, how much batten clearance actually holds up against this level of salt air and driving rain versus what a generic install guide suggests, and where a rainscreen gap earns its keep. That judgment doesn't show up on a spec sheet, and it's the difference between a board and batten wall that still looks and performs the same in fifteen years and one that's showing seam staining by year five.
Cost Factors for Board & Batten in This Area
Board and batten typically runs more per square foot than standard lap siding, mainly because of the added material (battens on top of boards) and the extra labor involved in fastening and detailing two layers instead of one. Beyond the base material, a few things move the price on a given Flounder Bay home:
| Factor | Why It Matters |
|---|---|
| Wall height and complexity | More corners, dormers, and transitions mean more cuts and flashing details |
| Existing wall condition | Rot or moisture damage found during tear-off needs repair before new siding goes up |
| Batten spacing and reveal | Tighter spacing uses more material and more fastening labor |
| Wind and marine exposure | Homes with direct bay exposure often need tighter flashing and fastener detailing than sheltered lots |
| Access and site conditions | Waterfront lots and steep sites can add labor time |
We'll walk your specific home and give you real numbers rather than a rough estimate off square footage alone — two houses with the same footprint can have very different board and batten costs depending on how many of these factors are in play.
Getting It Right the First Time
Board and batten is not a forgiving profile to redo. Because the battens cover the seams between boards, correcting a bad install usually means pulling battens, boards, or both, rather than a simple patch. That's part of why we treat the planning and detailing phase of these projects as seriously as the install itself — the cost of getting it right the first time is a lot lower than the cost of tearing out a wall that was installed wrong on a home exposed to this much salt air and rain.
If you're weighing board and batten for a home in Flounder Bay, we're happy to walk the property, talk through what your specific walls need given their orientation and exposure to the water, and give you a straightforward, no-pressure estimate. There's a form below — reach out and we'll set up a time to take a look.