 Anacortes Siding
 Building New in Conway? The Windows Have to Match the Ground They Sit On
Conway sits low in the Skagit River delta, a few miles south of Mount Vernon and just inland from Skagit Bay. If you're framing a new home or an addition out here, you already know the ground is different than building up on a bluff in Anacortes proper — the air stays damp longer, fog sits in the fields, and everything metal or wood-framed gets tested by moisture on a near-constant basis. New-construction windows are one of the few building components where getting the install right the first time actually matters more than which brand name is on the sticker. A window that's installed correctly will perform for decades. One that's installed even slightly wrong — a missed flashing lap, a sealant bead in the wrong spot — will leak into the wall cavity long before the glass itself ever fails.
This page is about that one job done right: setting and sealing new-construction windows in a Conway-area build, in a climate that includes salt-laden air off the Sound, driving wind-driven rain, and a moss season that runs longer here than it does on drier ground east of the mountains.
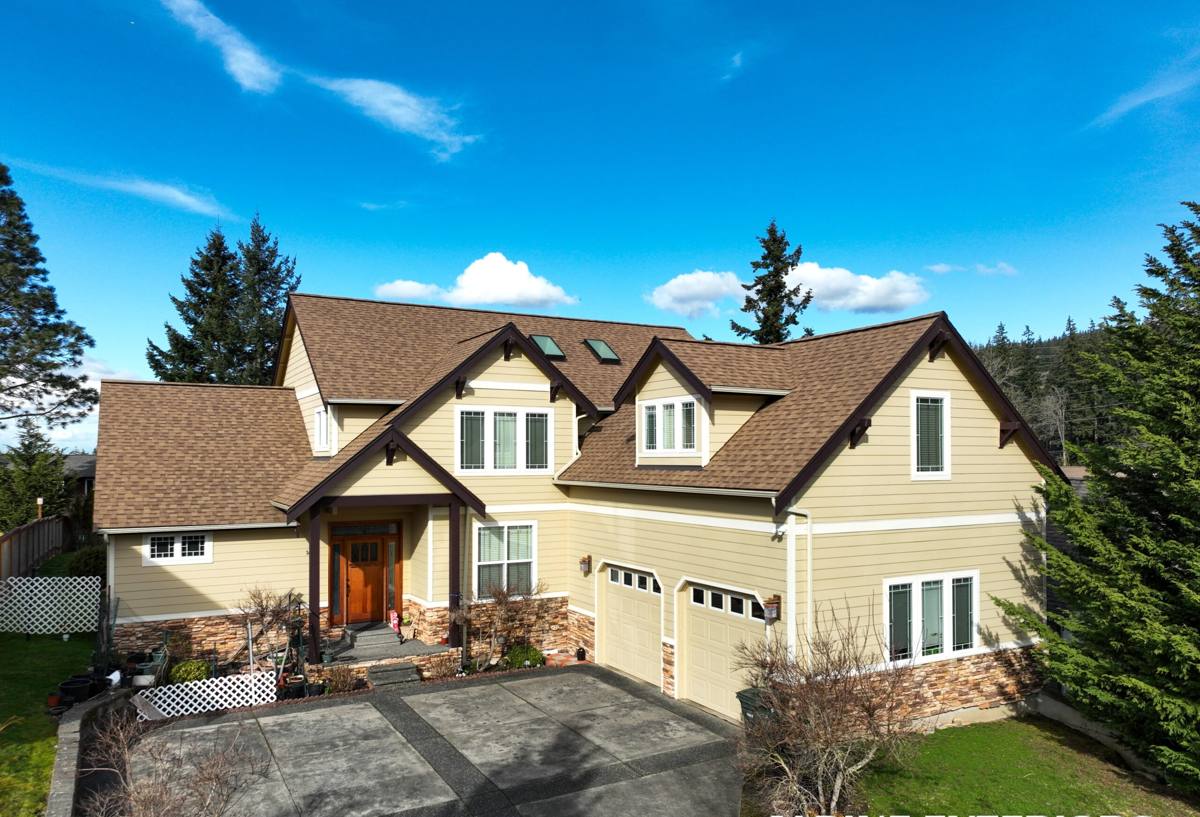
What Conway's Climate Actually Does to a New Window Opening
Salt Air and Corrosion
Being close to Skagit Bay means salt-laden moisture in the air, even a handful of miles inland. That air finds its way into fastener heads, window hardware, and any exposed metal flashing that isn't rated for coastal exposure. Over time, uncoated or poorly finished metal components corrode faster here than they would in an inland Skagit County build. We spec fasteners and flashing metals with that exposure in mind rather than treating every install like it's happening in a dry climate.
Driving Rain
Storms coming off the Sound don't just fall straight down — wind pushes rain sideways into wall assemblies, and new-construction window openings are one of the most common failure points in any home when that happens. A window that's only "pretty well sealed" will hold up fine in a light drizzle and then leak the first time a real windstorm drives rain horizontally into the wall.
Moss, Humidity, and the Length of the Wet Season
Low-lying delta ground holds moisture in the air longer into the season than higher ground does, and that extended dampness is exactly what moss and mildew need to take hold on north-facing walls and window sills. Moss itself doesn't destroy a window, but it holds water against surfaces that were never designed to stay wet, which shortens the life of caulking, trim, and finish coatings around the opening.
What "Correct" New-Construction Window Installation Actually Involves
New-construction windows have a nailing fin built into the frame, which gets fastened to the sheathing before siding goes on. That's different from a retrofit or "pocket" replacement window, and it's actually the better opportunity to get the water management right, because the wall isn't closed up yet. Done properly, the sequence looks like this:
- Rough opening is checked for square, level, and correct dimensions before the window ever shows up on site.
- A sloped sill pan is installed at the bottom of the opening so any water that gets past the window has somewhere to drain — out, not into the framing.
- Self-adhered flashing tape is applied to the sill and jambs in the correct shingle-lap order, so every layer sheds water down and out, never up and in.
- The window is set, shimmed square and plumb, and fastened through the nailing fin per the manufacturer's schedule — not just "close enough."
- Head flashing goes on last, lapping over the housewrap above the opening, with the housewrap itself lapped over the top flange.
- Sealant is applied at specific, limited locations — never as a substitute for proper flashing, and never in a way that traps water inside the assembly instead of letting it drain.
That order matters. A crew that skips the sill pan, flashes out of sequence, or relies on a heavy bead of caulk to make up for a shortcut is setting up a leak that might not show up for two or three winters — well past when most warranties get checked.
Choosing Window Materials for a Conway New-Construction Build
Material choice affects how a window handles the specific combination of salt air, rain, and long damp seasons this area sees. Here's how the common options actually compare for this climate, not just on sticker price:
| Material | Moisture & Salt-Air Performance | Maintenance | Typical Fit for Conway Builds |
|---|---|---|---|
| Vinyl | Won't rust or corrode; performs well in coastal humidity | Low — no repainting, occasional cleaning | Strong value option for most new-construction homes here |
| Fiberglass | Very stable in temperature and moisture swings; holds paint well if factory-finished | Low to moderate | Good upgrade where larger openings or dark exterior colors are wanted |
| Wood-clad (aluminum or vinyl exterior, wood interior) | Exterior clad protects the wood, but any breach in the cladding lets moisture reach the wood core | Higher — cladding seams and any exposed wood need monitoring | Workable if flashing and cladding details are done precisely; higher risk if not |
| Bare wood exterior | Poor match for this climate without constant upkeep | High — regular refinishing required | We generally steer new builds away from this here, given the maintenance load our salt air and rain create |
None of these are "bad" products in the right setting. Our recommendation for Conway is based on how much maintenance a homeowner actually wants to take on over the next 15–20 years in a delta climate, not on pushing one brand over another.
Our Process on a Conway New-Construction Job
Because this is new construction, we're usually working directly with a builder or coordinating around framing and siding trades, not retrofitting into an existing wall. Our process stays consistent regardless of who else is on site:
- Walk the rough openings before window delivery to confirm dimensions, square, and flashing plan match the actual framing on site.
- Coordinate timing with the siding and housewrap installers so flashing laps happen in the correct order — this is where most installation mistakes get baked in on multi-trade job sites.
- Install sill pans, jamb flashing, and head flashing per manufacturer instruction, adjusted for our coastal exposure.
- Set and fasten each window plumb, level, and square, checking operation (opening, closing, locking) before moving to the next unit.
- Photograph flashing details before they're covered by siding, so there's a record of what's behind the finished wall.
- Final walkthrough with the builder or homeowner covering care, warranty registration, and what to watch for during the first wet season.
What Drives Cost on a New-Construction Window Job
Every build is different, but the same handful of factors move the price on new-construction window installation here more than anything else:
| Factor | Why It Matters |
|---|---|
| Number and size of openings | More openings and larger units mean more flashing detail work and labor time |
| Window material and glass package | Vinyl, fiberglass, and wood-clad carry different unit costs; upgraded glass (triple-pane, coastal-rated) adds cost |
| Wall assembly complexity | Rainscreen assemblies and certain siding types change how flashing integrates with the wall |
| Site access and coordination | Working around other trades on an active new-construction site takes more scheduling than a standalone replacement job |
| Delivery lead times | Custom sizes or specific coastal-rated units may carry longer manufacturer lead times, which affects overall project scheduling |
We're straightforward about giving a firm number once we've seen the plans and openings — broad ranges without seeing the job aren't useful to a homeowner or builder trying to budget accurately.
A Practical Checklist Before You Sign Off on Any New-Construction Window Install
- Was a sloped sill pan installed under every window, not just caulk at the bottom of the opening?
- Was flashing tape applied in proper shingle-lap order — sill first, then jambs, then head, each layer lapping over the one below?
- Does the housewrap lap over the top of the window flange, not tuck under it?
- Are the fasteners and flashing metals rated for coastal/salt-air exposure?
- Were photos taken of the flashing before siding covered it up?
- Does every window open, close, and lock smoothly before the crew leaves?
Why Hiring a Crew That Already Works This Ground Matters
Anacortes and the broader Skagit County coastline don't behave like a generic Pacific Northwest building site — the Conway lowlands add their own wrinkle with delta humidity and proximity to tidal water. A crew that mostly works drier inland jobs may still know windows well in general, but may not automatically account for salt-rated fasteners, extended damp seasons, or how wind-driven rain actually hits a wall out here. Familiarity with this specific stretch of ground shows up in small decisions — which flashing metal to spec, how much lap is enough, where sealant helps versus where it traps moisture — and those small decisions are exactly what separates a window that's still tight in year fifteen from one that's already showing stains around the frame by year three.
If you're planning a new build or addition in the Conway area and want windows installed right the first time, we're happy to walk the site, look at your plans, and put together a straightforward, no-pressure estimate using the form below.