 Anacortes Siding
 Building New in Sedro-Woolley? The Windows Are Not a Detail to Rush
New-construction window installation is a different job from replacing an old window in an existing wall. There's no old frame to reference, no prior flashing to inspect or repair, and no forgiveness built in from a previous installer's work. Every layer — the rough opening, the weather-resistive barrier, the flashing, the window itself, and the siding that will eventually cover it — has to be sequenced correctly the first time. In Sedro-Woolley, where new builds sit in a Skagit County climate that delivers long stretches of driving rain, humid air off the Sound, and a moss and algae season that can run most of the year, getting that sequence right matters more than it does in drier parts of the country.
We're an Anacortes-based crew that works new-construction window installs across Skagit County, including Sedro-Woolley. This page covers what a correct install actually involves, what the local climate demands of it, and why the sequencing on this trade is worth hiring out to people who've done it here before.
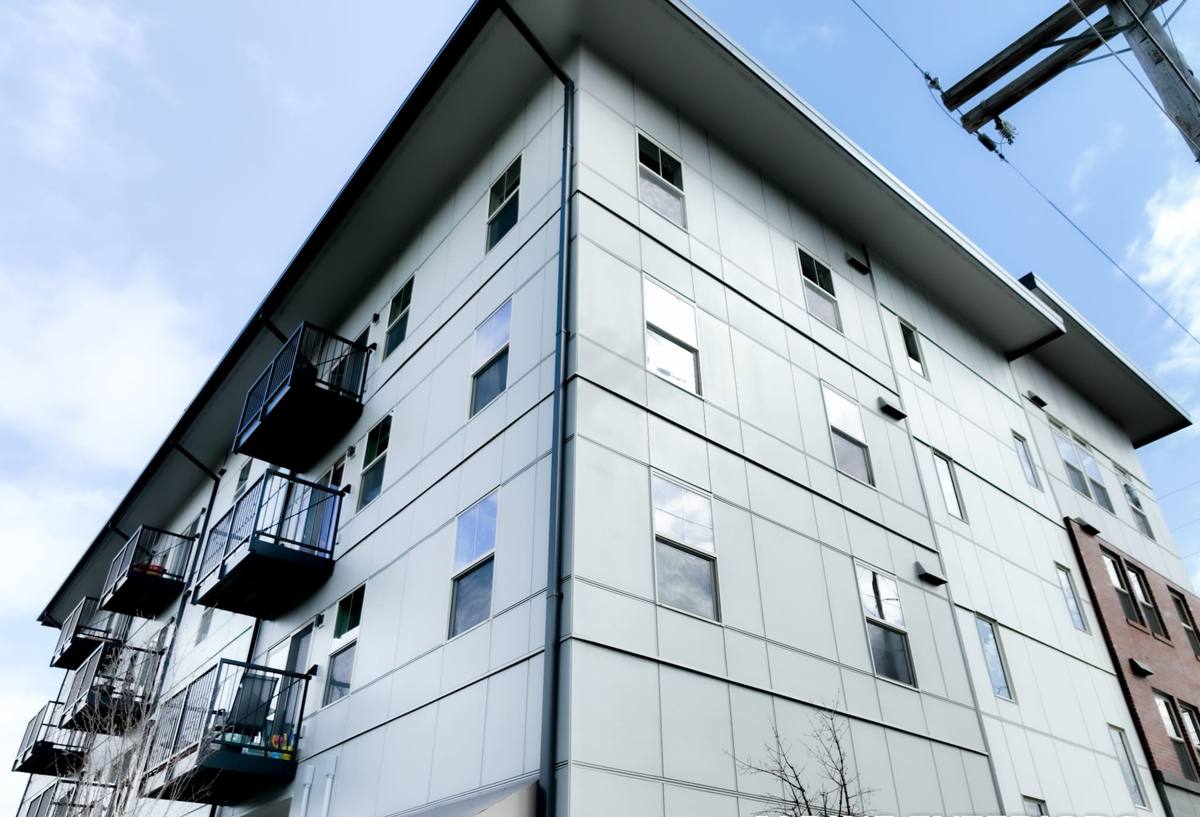
Why Sedro-Woolley's Climate Changes the Install
Sedro-Woolley sits inland from Anacortes and the coast, but it's still squarely in a Puget Sound-influenced climate: wet falls and winters, mild but damp summers, and enough humidity most of the year to keep moss, algae, and mildew active on north-facing and shaded surfaces. That combination puts real demands on a window install that a drier climate wouldn't:
- Driving rain — wind-driven rain doesn't just fall straight down, it pushes sideways into wall assemblies. Flashing details that rely on gravity alone to shed water aren't enough here.
- Long wet seasons — a rough opening or window that traps even a small amount of moisture behind the WRB won't dry out quickly in this climate. It stays wet, and wood framing exposed to sustained moisture is where rot starts.
- Moss and algae growth — anywhere water sits or drains slowly (sills, low-slope trim, shaded elevations) becomes a growth surface over time. Drainage details at the sill matter as much as the seal at the edges.
- Temperature swings — Skagit County gets warm summer days and cold, damp winter nights. Materials expand and contract, and sealants that aren't rated for that range crack and fail early.
None of this is exotic weather. It's just consistent, and consistency is what wears out a poorly installed window over years rather than months. A one-time bad rainstorm rarely causes damage — repeated exposure through an improperly flashed opening does.
New Construction vs. Replacement: Why the Job Is Different
On a replacement job, the installer is working around an existing wall, existing siding, and often an existing (if flawed) drainage plane. On new construction, we're building that drainage plane from scratch, which is both an advantage and a responsibility.
The advantage
Everything is accessible. The rough opening is open on all sides, the WRB can be lapped correctly from the start, and there's no old caulk, old flashing, or hidden rot to work around. Done right, a new-construction install should outlast most of what gets installed during a retrofit, simply because the assembly can be built in the correct order.
The responsibility
There's also nothing to hide behind. If the sill pan isn't flashed correctly, if the WRB isn't lapped shingle-style over the flanges, or if the window isn't set level and square, those mistakes get sealed behind siding and trim — and they don't show up as a problem for years, usually as a stain, soft spot, or bubbling paint near a sill. By then the fix means pulling siding and trim back off.
What a Correct Install Actually Involves
A proper new-construction window install follows a specific order. Skipping steps, or doing them out of sequence, is the single biggest cause of water intrusion in new builds — far more common than a defective window unit.
1. Rough opening check
Before a window goes anywhere near the opening, we confirm it's square, level, and sized correctly with the right margin for shimming. An opening that's out of square gets forced into place, which stresses the frame and compromises the seal from day one.
2. Sill pan flashing
The sill is the most important part of the whole assembly, because it's where water that gets past the window eventually ends up. A sloped, sealed sill pan gives that water somewhere to go — back outside, not into the framing. This step gets skipped more often than any other, usually to save time, and it's the one that causes the most damage down the road.
3. Weather-resistive barrier integration
The WRB (house wrap or equivalent) has to be lapped so that water always drains over the layer below it, never behind it — shingle-style, top over bottom, at every seam and at the window flange.
4. Setting and fastening the window
Set level, plumb, and square, shimmed at the manufacturer's specified points, and fastened per the window's installation instructions — not a generic pattern. Over- or under-fastening both cause problems, from frame distortion to units that don't hold up under wind load.
5. Flashing tape and head flashing
Self-adhered flashing tape at the jambs and a head flashing (or integrated drip cap) above the window, again lapped correctly with the WRB above it. This is the layer that specifically handles wind-driven rain.
6. Sealant at the right joints only
Sealant belongs at the exterior face joints, not as a substitute for proper flashing, and never at the bottom of the window where it would trap water inside the sill pan instead of letting it drain.
Choosing Windows for a Skagit County Build
The frame material and glazing package matter less than the install quality, but they're not irrelevant — especially for a home that will sit through decades of Puget Sound weather.
| Factor | What to weigh |
|---|---|
| Frame material | Vinyl is budget-friendly and low-maintenance; fiberglass holds up well to temperature swings without warping; wood-clad offers interior wood appearance with an exterior weather shell — each has a place depending on budget and design. |
| U-factor / energy rating | Look for ratings suited to the Pacific Northwest marine climate zone — this affects both comfort and long-term heating costs, not just an efficiency label. |
| Sill design | A sill with a built-in slope and clear drainage path performs better here than a flat sill, given how often this area sees sustained rain. |
| Exterior finish | Smooth, low-texture exterior finishes shed algae and moss growth more easily than porous or heavily textured trim in shaded, damp areas. |
| Warranty structure | Understand what's covered by the manufacturer versus what's covered by the installer — installation-related failures are usually not a manufacturer warranty issue. |
We don't push one brand as universally "best" — the right choice depends on the home's design, budget, and exposure. What we will do is walk through the actual trade-offs with you rather than upselling a product line.
How We Work on Sedro-Woolley New Builds
Because this is new construction, we're typically coordinating with a builder or general contractor's schedule rather than working on an occupied home. That coordination is its own skill.
- Framing walkthrough — we check rough openings before install day so any framing issues get caught while they're still easy to fix.
- Weather-window scheduling — we plan install timing around the forecast where possible; setting windows in an active downpour isn't good practice for sealant cure or WRB lapping.
- Install per manufacturer spec — every window brand has its own fastening and flashing instructions, and following them is what keeps the warranty intact.
- Photo documentation at each flashing stage — since these layers get covered by siding, we document sill pan, WRB lapping, and flashing tape before they're buried.
- Handoff to siding crew — on jobs where we're also doing the siding, the transition from window flashing to siding is seamless because it's the same crew working the same drainage plane. On jobs where another contractor handles siding, we make sure our flashing details give them a clean, correct surface to build from.
A Practical Checklist for Builders and Homeowners
- Confirm sill pan flashing is part of the scope, not assumed
- Confirm WRB laps shingle-style at every window opening
- Ask what fastening pattern will be used and why
- Ask for photos of flashing before siding covers it
- Match window U-factor to the marine climate zone, not a generic national average
- Clarify who is responsible for the seal — window installer or siding contractor — before both are on site
Why a Local Crew Matters for This Job
New-construction window flashing isn't complicated in theory, but it's easy to get subtly wrong in ways that only show up after a few wet seasons. A crew that already works Anacortes and Skagit County builds regularly has seen how these details actually perform in this specific climate — not a generalized national average, but the real pattern of driving rain, humidity, and moss growth that Sedro-Woolley homes deal with year after year. That's the difference between an install that meets code on paper and one that's actually built for how the weather here behaves. It also means we're familiar with local building department expectations and typical inspection sequencing for new builds in the area, so window rough-in and flashing inspections don't become a scheduling bottleneck on your project.
Get an Estimate
If you're building new in Sedro-Woolley and want the window installation done right the first time — sequenced correctly, flashed for this region's rain and moisture, and documented before it's covered by siding — we're happy to take a look at your plans and rough openings. Reach out for a free, no-pressure estimate using the form below.