 Anacortes Siding
 Building New in Ship Harbor Means Building for the Water
Ship Harbor sits close to Fidalgo Bay, right where the marine layer, wind off the water, and driving winter rain all meet a job site at once. If you're framing a new home or a large addition in this part of Anacortes, the windows you choose and how they go in will spend the next few decades taking that exposure head-on. Salt-laden air corrodes hardware and finishes faster here than it does further inland in Skagit County, and the long, wet moss season means anything that traps moisture against wood or siding becomes a problem within a few years, not a few decades.
New construction is actually the best time to get this right. Unlike a retrofit, where you're working around existing siding and trim, a new build lets us integrate the window with the water-resistive barrier, flashing, and siding as one continuous system. Done correctly, that system sheds water before it ever reaches the framing. Done poorly — even with an expensive window — you're looking at rot, staining, or air leaks that show up right around the time the warranty runs out.
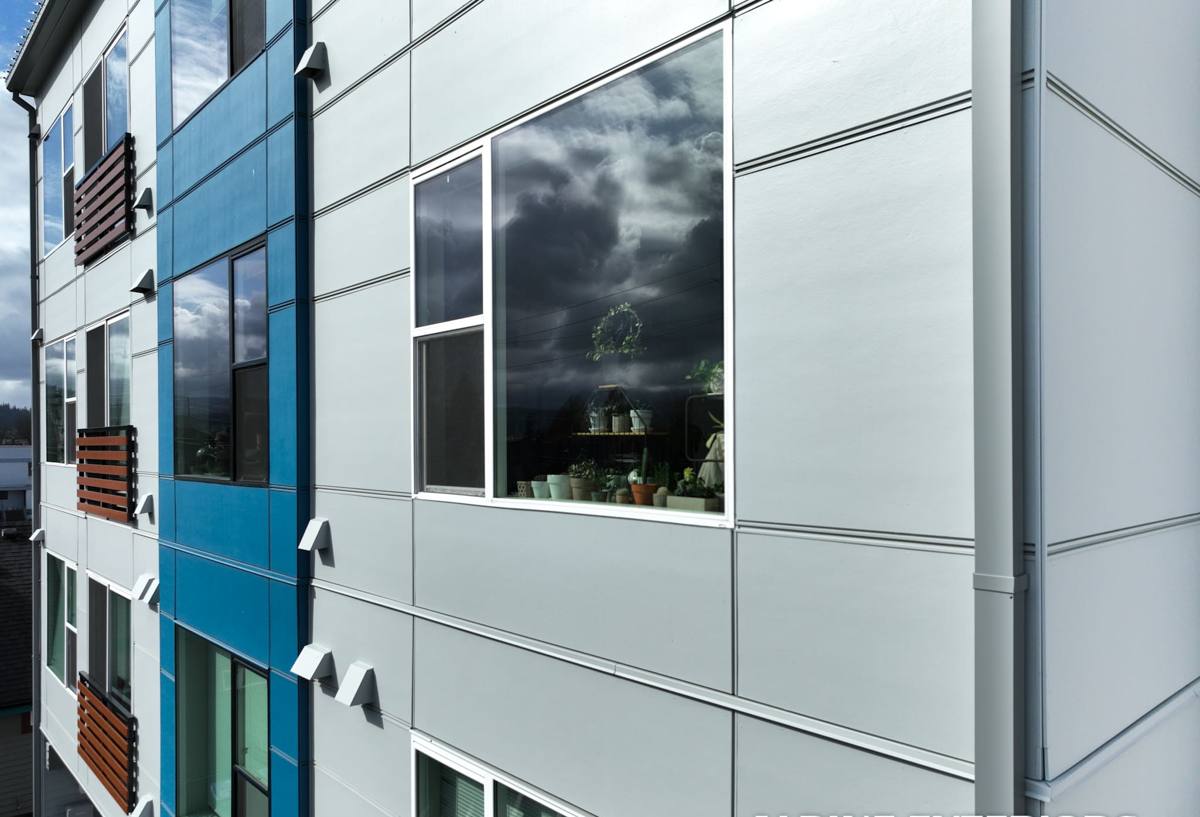
New-Construction Windows Are a Different Job Than Replacement
People sometimes assume a "new-construction window" just means a window that's new. It actually refers to the frame style: these units have a nailing flange (also called a nail fin) around the perimeter that gets fastened directly to the wall sheathing before siding goes on. Replacement windows, by contrast, are built without that flange so they can be inserted into an existing frame without disturbing the exterior finish.
The flange design matters because it lets us build the flashing and water barrier in layers, shingle-style, so every layer overlaps the one below it — exactly how roofing works. That layered approach is what actually keeps water out in a place like Ship Harbor, where horizontal, wind-driven rain hits window openings from angles a simple caulk bead was never meant to handle.
Why This Distinction Matters on Your Job
- Nailing-flange windows must go in before or during siding installation — the sequence can't be skipped or reversed
- Flashing tape and the weather-resistive barrier have to be lapped in a specific order, not just "sealed up" afterward
- Sill pans should be installed under every opening as a backup drainage plane, not treated as optional
- Rough openings need to be sized and squared correctly the first time — shimming a misaligned opening after the fact compromises the seal
What a Correct Installation Actually Involves
A window is only as good as the thirty minutes of prep work before it's set in the opening. Here's what we treat as non-negotiable on every new-construction install in this area:
- Sill pan flashing — a sloped, sealed pan at the bottom of the rough opening that carries any water that gets past the window back outside, rather than letting it sit on the sill plate
- Back-dam and end dams — small raised barriers at the sill pan's back and sides so water can't migrate sideways into the wall cavity
- Jamb and head flashing, integrated with the weather-resistive barrier in the correct shingle-lap order — sides first, then head, so each layer sheds onto the one below
- Low-expansion window sealant or backer rod at the interior air seal, separate from the exterior water seal — these are two different jobs and conflating them is a common source of condensation problems
- Fastening per the manufacturer's schedule — enough nailing points to meet wind-load requirements without over-driving fasteners and distorting the frame
None of this is exotic. It's standard building science. But it's also the kind of work that's invisible once the siding goes on, which is exactly why it gets rushed on job sites where the crew is being paid by the opening rather than by the hour.
Choosing a Window Built for This Exposure
Every major window material can perform well on the coast if it's specified and finished correctly — and every one has a weak point if it isn't. We'll talk through your options honestly rather than push whatever's easiest to install.
| Frame Material | How It Handles Salt Air & Moisture | Maintenance |
|---|---|---|
| Vinyl | Won't corrode or rot; good baseline performer near the water | Low — occasional cleaning, no refinishing |
| Fiberglass | Very stable dimensionally, holds paint and finishes well in wind-driven rain | Low to moderate — repaint on a longer cycle if factory-finished |
| Aluminum-clad wood | Good exterior weather resistance, but any breach in the cladding exposes wood beneath to rot | Moderate — interior wood finishing, watch clad seams |
| Bare wood | Handsome, but demands the most upkeep in a salt-air, high-moisture climate | High — regular refinishing and sealant checks |
We're not going to tell you a given brand is bad — most reputable manufacturers build a solid product. Where we do push back is on installation shortcuts: a premium window installed without proper flashing will fail before a mid-grade window installed correctly. Hardware finish matters too — look for coastal-rated or marine-grade hardware options where available, since standard finishes can show corrosion faster this close to the water.
Glass Packages Worth Considering
Skagit County's marine layer keeps summers mild but winters damp and gray. A double-pane, low-E unit with argon fill is the standard baseline for new construction here and handles our climate well. If the home faces open water or gets direct afternoon sun off the bay, we'll talk through glass coatings that cut glare and heat gain without darkening the view more than you want.
How Our Process Works on a New Build
We coordinate directly with your builder or general contractor rather than showing up as an afterthought. That coordination is what keeps the schedule moving and keeps us from installing windows before the opening is properly framed and dried in.
- Plan review — we confirm rough opening sizes, window schedule, and flashing details against the actual units ordered before anything ships
- Site timing — windows go in after the weather-resistive barrier is up and before siding starts, on the framer's schedule, not around it
- Installation — sill pan, flashing, window setting, fastening, and interior/exterior sealing, done in the correct sequence every time
- Documentation — we photograph flashing details before they're covered by siding, so there's a record of what's behind the wall if it's ever needed
- Final walk-through — every opening checked for square, operation, and a clean seal before we call it done
Mistakes We Catch on New-Construction Sites
Most of the callback problems we see on newer homes near the water trace back to a handful of avoidable errors. On new builds, we specifically watch for:
- Flashing tape applied in the wrong order (head flashing under the barrier instead of over it)
- Missing or improvised sill pans, relying on caulk alone to keep water out of the sill
- Rough openings cut oversized "to be safe," leaving gaps that get packed with insulation instead of properly shimmed and sealed
- Interior air sealing skipped because it's not visible from outside — leading to condensation and drafts once the home is occupied
- Fasteners driven at an angle or overdriven, cracking the flange and creating a leak path that won't show up until the first hard winter storm
Cost Factors for a Ship Harbor Build
New-construction window costs depend more on the number and size of openings, glass package, and frame material than on labor alone, but a few local factors do move the number:
| Factor | Why It Affects Cost |
|---|---|
| Frame material and finish | Fiberglass and clad-wood run higher than vinyl; coastal hardware upgrades add a modest premium |
| Number of large or custom-shaped openings | Picture windows, bays, and non-standard sizes cost more per opening than standard sliders or casements |
| Site exposure | Openings facing open water or prevailing wind get extra flashing detail, which adds labor time but reduces long-term risk |
| Coordination with framing schedule | Installing on a tight, well-planned schedule is more cost-efficient than working around delays or rework |
We're happy to walk your plans and give you a realistic range before you finalize your window order — it's easier to make material decisions early than to change course mid-build.
Why It Matters to Hire a Crew That Already Works This Area
Ship Harbor's exposure isn't identical to a build three miles inland. Crews who mostly work drier, more sheltered sites sometimes treat flashing as a formality rather than the primary defense it needs to be here. We work new construction and additions across Anacortes and Skagit County regularly, which means we've already seen how wind-driven rain off the bay finds the gaps that get missed elsewhere — and we build for that from the first opening, not after a callback.
Getting this right the first time also matters for your builder's schedule and your home's long-term maintenance. A window install that's flashed and sealed correctly shouldn't need attention again for a very long time. One that isn't can mean opened-up siding and drywall repair down the road, on a house that's supposed to be brand new.
Let's Talk About Your Windows
If you're planning a new build or a major addition in Ship Harbor, we're glad to walk your plans, talk through frame and glass options for this exposure, and give you a straightforward, no-pressure estimate. Fill out the form below and we'll follow up to schedule a time.